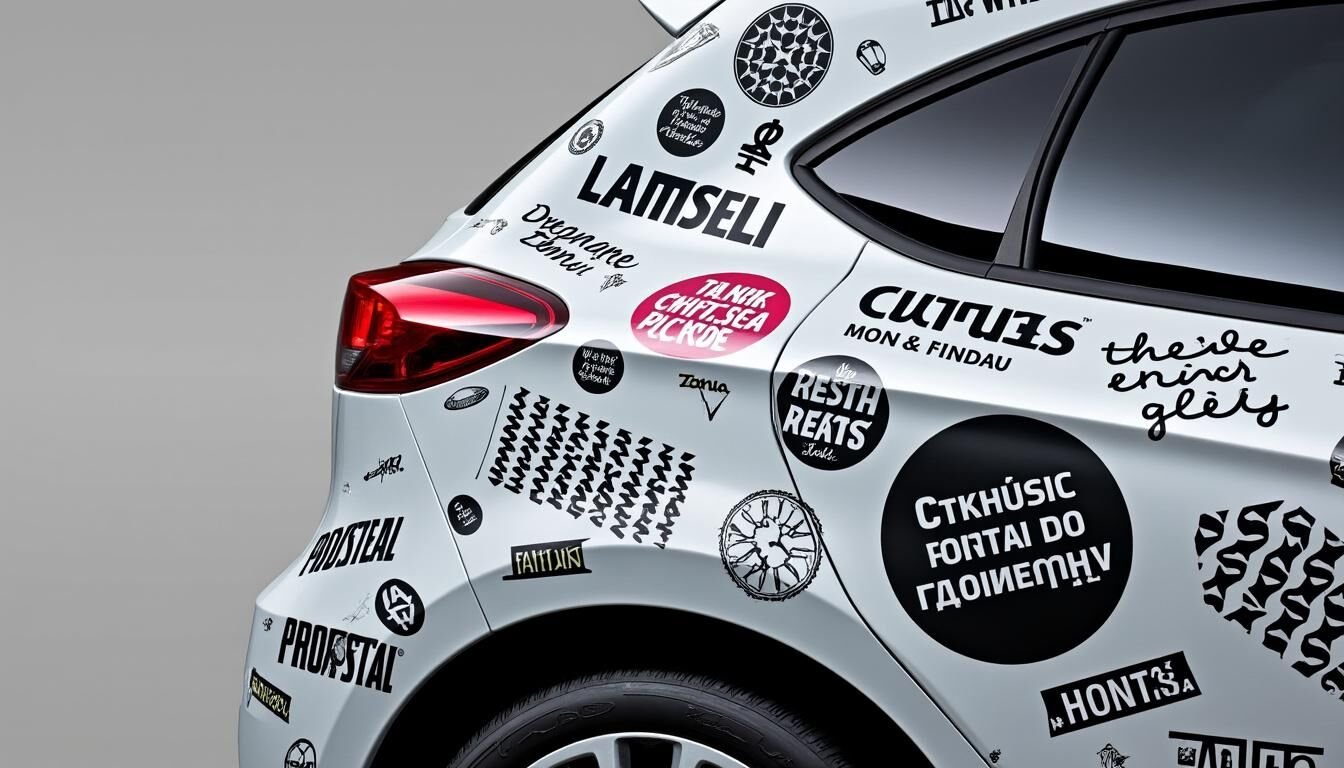
How to apply a sticker to your car without bubbles?
Car customization using stickers is a trend that continues to evolve in 2025, combining aesthetics, personal expression, and sometimes even communication or marketing. A sticker on a car is no longer limited to a simple decoration: it also partially protects the bodywork against minor impacts and scratches, while allowing for original differentiation. Opting for a unique design with a sticker offers the freedom to assert your style and transform your vehicle into a true means of expression. This approach creates a real visual enhancement and can also help strengthen a company’s visual identity with promotional stickers. However, the success of this customization depends on precise steps, including the careful selection of the sticker and its perfect application to ensure optimal durability and avoid imperfections such as bubbles or unsightly creases. 🚗✨
Weather and UV resistant stickers: how to select the right material?
As the car is constantly exposed to the elements, it is imperative that the sticker is made from a material that is resistant to bad weather and UV rays. Monomeric polymer vinyl or calendered polymer vinyl are often recommended for their strength and flexibility. Polymer vinyl, more qualitative, guarantees better durability in the face of wear and climatic variations. Opting for a sticker with a transparent protective lamination also extends its longevity by maintaining a shiny appearance and preventing discoloration. This choice prevents the sticker from becoming fragile or peeling off prematurely, especially in regions where exposure to the sun is intense. 🌞
Adapt the sticker to the surface and exterior use of the vehicle
The texture and curvature of the car’s surface determine the type of sticker to select. On a perfectly flat body, a classic adhesive sticker is sufficient. On the other hand, for curved or raised areas, you should favor flexible and extensible stickers which perfectly fit the contour without tearing. The choice of material must also take into account outdoor use: a car regularly exposed to rain, frost or dust requires a particularly resistant sticker.
Polymer vinyl stickers: high strength and durability ✔️
Repositionable adhesive: ideal for testing or easy modification 🔄
Laminated stickers: protection against UV and external aggressions 🌦️
Flexible adhesive for curved surfaces: allows wrinkle-free bonding 🎯
Car stickers: cutting, format, repositionable and adhesive letters
Car stickers are available in several sizes and cutting techniques, suitable for all tastes. A sticker in the shape of an individual letter offers a simple and precise personalization. Large printed surfaces allow you to completely cover a hood or door. The choice between pre-cut and fully customized stickers depends on the desired effect and the complexity of the design. Sticker Type 🚗
Pros ✨
Cons ⚠️ | Recommended Use 🛠️ | Precise cutting (adhesive letters) | Fine customization, professional look |
|---|---|---|---|
Less suitable for very large surfaces | Logos, slogans, names | Large format printed stickers | Rich color and design |
More technical application, risk of bubbles | Full wrap, advertising | Repositionable adhesive | Installation errors easily correctable |
Less durable over the very long term | Tests, temporary trials | Customized contour cutting | Maximum originality |
Higher cost | Artistic creations, large cutouts | Match the size and shape of the sticker with the application area | Proper sticker application also depends on the consistency between the size of the sticker and the area where it will be applied. A sticker that is too large on a small surface will appear disproportionate, while one that is too small will lose its visual impact. For perfect harmony, it is recommended to take precise measurements of the area before ordering, then improvise a trial application to assess the result. Since stickers are often pre-cut, adapting the shape to the surface ensures impeccable aesthetics without annoying overhangs. |
Precisely measure the available surface 📏
Test the position with masking tape 📝
Choose a format compatible with the bodywork 🚘
Take into account any creases or curves depending on the area 🌀
Discover our tips for applying a sticker to your car without bubbles. Follow our simple and effective advice for a professional result that will beautify your vehicle without imperfections.
Preparing the surface before applying a car sticker: essential steps
Surface preparation plays a key role in the durability of the sticker. Thorough cleaning removes dust, grease, and residue that could compromise the sticker’s adhesion. The bodywork must be perfectly clean and degreased, providing an ideal base for application. This preliminary care also guarantees a professional finish, without visible irregularities.
Recommended products: isopropyl alcohol, mild soap, lint-free cloth
It is recommended to use several complementary products for effective cleaning:
Isopropyl alcohol: excellent for degreasing without damaging the paint.
Mild soap: cleans thoroughly without leaving abrasive residue. Lint-free cloth: avoids leaving fibers that would impair adhesion.
Washing generally begins with soapy water, followed by isopropyl alcohol to ensure complete removal of grease. Using microfiber cloths provides the necessary softness, reducing the risk of scratches while perfectly preparing the surface. Ideal temperatures and conditions to avoid when applying your car sticker
The ambient temperature directly affects the sticker’s application. Work between 10 and 30°C. is optimal. Below this temperature, the adhesive loses its flexibility and adheres less; above this temperature, it can become too sticky and difficult to handle. It is also crucial to avoid applying a sticker in damp or rainy weather, as condensation on the surface affects the quality of the application. A dry and temperate environment ensures impeccable adhesion from the moment of application.
Weather conditions 🌤️ Effect on sticker application 🚫
Recommendation ✅
Temperature below 10°C
Rigid adhesive, possible peeling Wait for warmer weather Temperature above 30°C
Adhesive too sticky, difficult to handle | Apply early morning or evening | High humidity or rain |
|---|---|---|
Damp surface, poor adhesion | Choose a dry and sunny day | The importance of a clean and dry surface for a professional finish |
The surface must not only be clean, but also completely dry before application. Any trace of moisture can cause bubbles to form under the sticker, significantly altering the final appearance. A microfiber wiper or dry cloth ensures the car is ready to receive the sticker. This attention enhances the quality of adhesion and the durability of the design. Without this step, the installation is compromised from the start, even with the most high-performance sticker. | Techniques and tools for applying a car sticker without bubbles or wrinkles | Dry application or soapy water application: which method should you choose? |
There are two main methods for applying a car sticker: dry application and soapy water application. Dry application is generally suitable for small stickers on flat surfaces. It involves gradually peeling off the backing film, then carefully positioning the sticker, followed by precise smoothing by hand or with a squeegee to remove bubbles. This technique requires precision and speed. | Soapy water application is intended for larger stickers, particularly those applied to curved or complex surfaces. The soapy water acts as a temporary lubricant, making it easier to reposition the sticker before the adhesive sets permanently. | Dry application: quick, clean, suitable for small formats |
Soapy water application: easy adjustment, ideal for large surfaces
Use a squeegee, a card, and masking tape for alignment
To avoid bubbles and ensure perfect alignment, several tools are essential:
Plastic squeegee: expels air from the center outward.
Credit card or similar: economical alternative to a squeegee.
Masking tape: serves as a guide for positioning the sticker before application.
These accessories ensure complete application control and limit defects caused by wrinkles or bubbles. Tip: Heat the sticker for curved surfaces and pierce small air bubbles. On curved or curved areas, it is recommended to use a hair dryer to gently heat the sticker. This heat makes it more flexible, facilitates its stretching, and ensures better adhesion. For small bubbles that persist after application, a thin pin can be used to discreetly pierce them, preventing them from spreading and becoming unsightly.
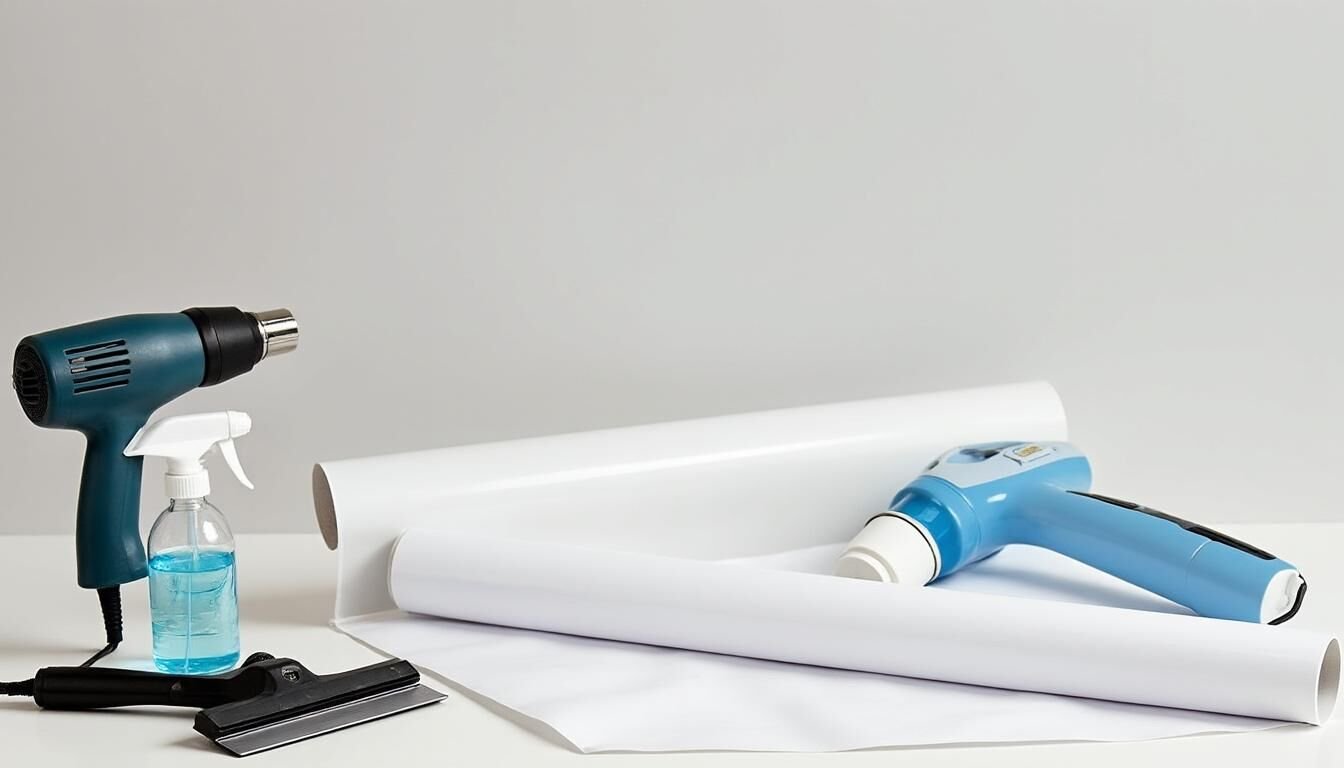
List of essential tools for applying a car sticker Lint-free microfiber cloths 🧽
Isopropyl alcohol or rubbing alcohol 🧴
Plastic squeegee or stiff card 🃏
Masking tape for positioning 🎯 Hair dryer to heat the sticker 🔥
Cutter or scissors for adjustments ✂️ Thin pin to pierce bubbles 📌
Spray bottle for soapy water 💦 Discover our tips and practical advice for applying a sticker to your car without creating bubbles. Follow our step-by-step guide for a professional and aesthetically perfect result. Transform your vehicle easily and efficiently!
Expert advice: mistakes to avoid, car sticker maintenance, and removal
Common pitfalls when applying a car sticker and legal framework to follow
Several common mistakes can compromise sticker installation:
Applying to a dirty or greasy surface, reducing adhesion.
Applying the sticker in the wrong temperature (30°C) or in the presence of humidity.
Removing the protective film too quickly, causing creases or tears.
Excessive pressure with the squeegee, risking deforming the adhesive.
Re-adhering an old, peeled sticker, which reduces adhesion. Prohibited areas: windshields, windows, rearview mirrors, and license plates
For safety and legal reasons, applying stickers is strictly prohibited on:
Windshields
: risk of visual obstruction.
Side windows
Rearview mirrors
: dangers associated with blind spots.
License plates
: severe legal penalty.
Never reapply an old, peeled sticker: why and what to do?
A sticker that has already peeled off loses some of its adhesive properties and no longer guarantees a durable installation or an aesthetically pleasing appearance. It is therefore crucial to carefully remove any old sticker and then thoroughly clean the surface before applying a new one. If sticky residue persists, specific products such as mild solvents should be used for optimal cleaning without damaging the paintwork.
Extending the life of your sticker: maintenance tips and proper removal
To keep your sticker looking new and sticking for a long time, a few simple tips are all you need:
Clean regularly with warm water and mild soap, avoiding abrasive products. 🌿
Avoid direct high-pressure jets on the sticker. 🚿
Monitor the edges to act quickly if it begins to peel. 🛠️ Remove gently with a hairdryer to soften the adhesive before removing it. 🔥
Clean any residue with a suitable solvent, without rubbing aggressively. 🧴 These steps not only maintain the quality of the sticker, but also ensure long-term protection of the car’s painted parts.
FAQ How can I avoid bubbles when applying a sticker to a car? Properly preparing the surface, using a plastic squeegee, pushing the air outward from the center, and favoring soapy water application for large surfaces are the keys to avoiding bubbles.
Can you apply a sticker to a curved surface? Yes, provided you use a flexible, stretchy vinyl sticker and heat the adhesive slightly so that it perfectly conforms to the curve.
At what temperature should you apply a sticker to your car?
The ideal temperature for applying a sticker is between 10 and 30 degrees Celsius, in a dry environment to ensure good adhesion.
How long should you let a sticker dry after application?
A drying time of 24 to 48 hours is recommended before washing or exposing the car to extreme conditions.
What is the best method for removing a sticker without damaging the paint?
Gently heat the sticker with a hair dryer to soften the adhesive, peel it off slowly, and then clean the residue with a suitable product.

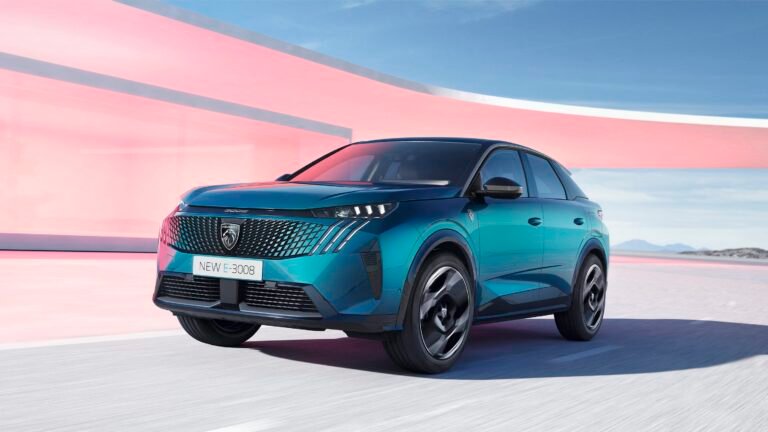
Peugeot 3008, active version, allure or GT?
The Peugeot 3008 has quickly established itself as one of the most popular compact SUVs thanks to its assertive style, modern technologies and driving comfort. For 2025, Peugeot has made several improvements to its 3008, particularly in terms of design,…
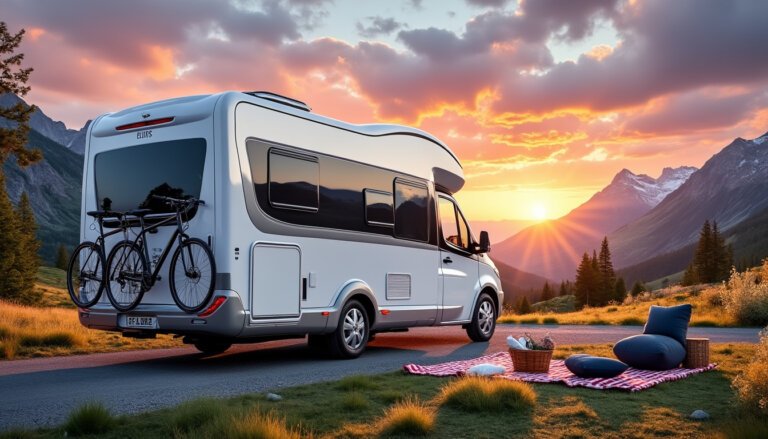
Common mistakes to avoid when buying a van
While the van conversion craze is still in full swing in 2025, many are embarking on the adventure with the desire for everything to run smoothly. But beware: buying a van, as exciting as it may be, is full of…

A mechanic’s opinion on Hankook tires: performance combined with innovation
As a mechanic, it is essential for me to have an informed and objective opinion on the various tires available on the market. Customers often ask me about my opinion on Hankook tires. Advertisement – Click here to discover tire…